

Needle felting is a fun and rewarding craft. You can make beautiful creations in all shapes and sizes. I have put together a few tips to help you along your journey and to keep it interesting!
1: Start off with a small round shape, rub the roving between the palms of your hands to make a ball. This knots and gives you a head start on the felting process.
Here are other ways to shape in our flower tutorial:
2: For a larger piece do this then wrap a flat piece of roving around it and needle felt.
3: To save on roving on large pieces. Make your base with toy stuffing, a ball of yarn or polystyrene shape.
4: Use a cookie cutter to make a specific shape, e.g place your roving in a heart shape and needle felt with heart in place. When you remove it you will have a perfect shape.
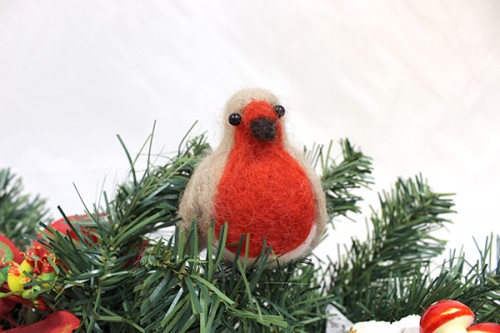
5: If you are doing a large flat area, use a needle felting pen with multiple needles. This makes things go a lot faster. Use the single needle for 3d projects like the robin below and to finish.
6: To keep your project even. Keep turning it front and back, and around. Don’t concentrate on the one spot.
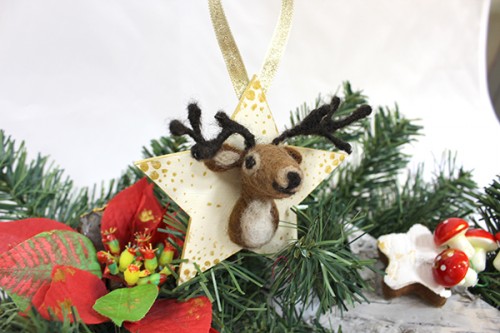
7: If you are making small pieces like this reindeer, leave a fluffy end. This makes it easier to hold and gives you something to attach on with.
8: Start with less roving than you think you will need. It is much easier to add than take away!
9: Always tear your roving with your hand, never cut it. This can leave a blunt edge and is hard to work with.
10: To finish and neaten your project twirl the loose fibres around your needle and gently poke in. You can cut off any stubborn strands at this stage.
Hope this was helpful and happy felting!